
WEDDING BACKDROP DISPLAY AND SEATING CHART
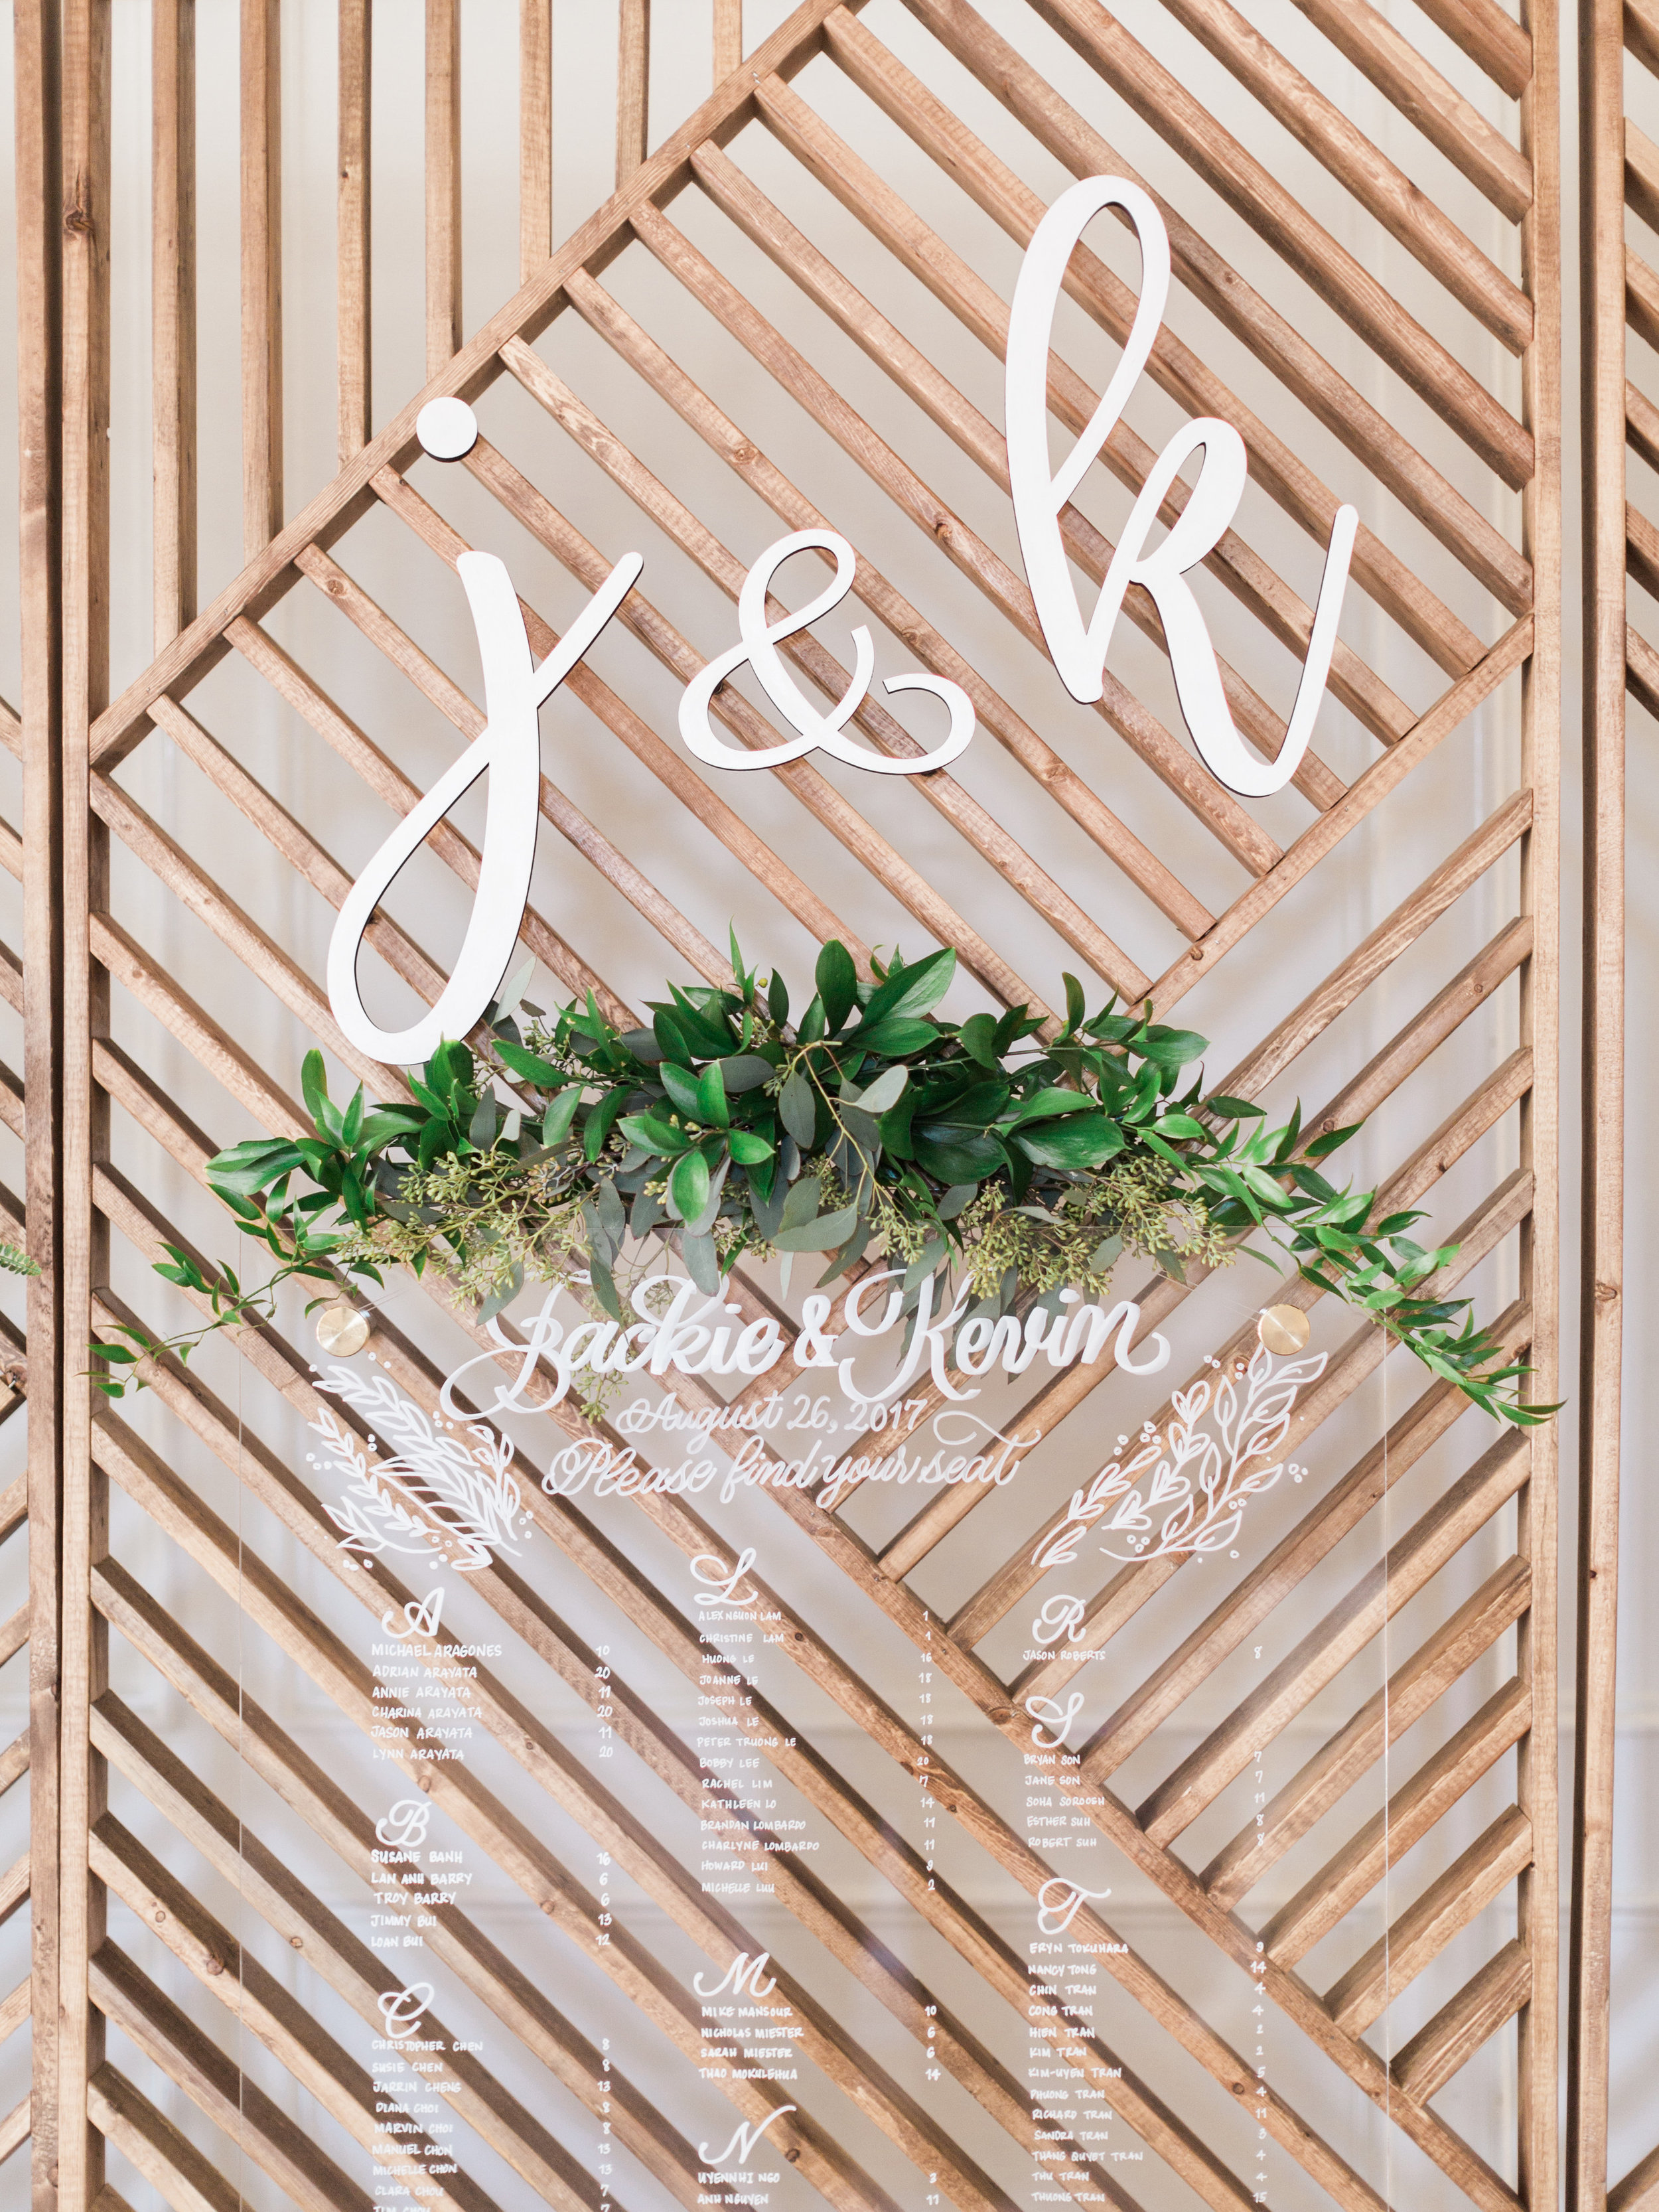
Being a woodworker and DIY’er, I wanted to build something that not only was functional, but added something special and unique to our wedding. This backdrop served as a place to display the guest seating chart during cocktail hour, as well as a backdrop for the photo booth. Each panel is 3 feet wide and 7.5 feet tall, so when placed together measures 9 feet wide… a great size for group photos.
The display is made mostly from 1”x4” pine boards, and the seating chart is a piece of plexiglass from the local home center. The letters were laser cut from a local sign shop, and some faux green foliage was added to tie everything together.
Here's a breakdown of the materials and tools used:
1" x 4" wood (from a local home center)
1” x 6” boards for the legs
2” x 6 boards for support
Level -
4” bolts/nuts
Plexiglass

I started by making a frame for each of the 3 panels. The bottom and top piece are cut to 34.5”, the vertical pieces are cut to 90”. I sketched out the pattern on paper first, but you can get creative with the design. All the angles are cut at 45 degrees on the miter saw.

I cut each piece to length, working in small sections at a time. I didn’t really have specific length cuts, but would cut to fit instead. I used a scrap piece of 2”x4” as a spacer block between each piece.

I tested by staining some pieces prior to attaching, since I thought it might be hard to stain afterwards… but it didn’t make much of a difference.
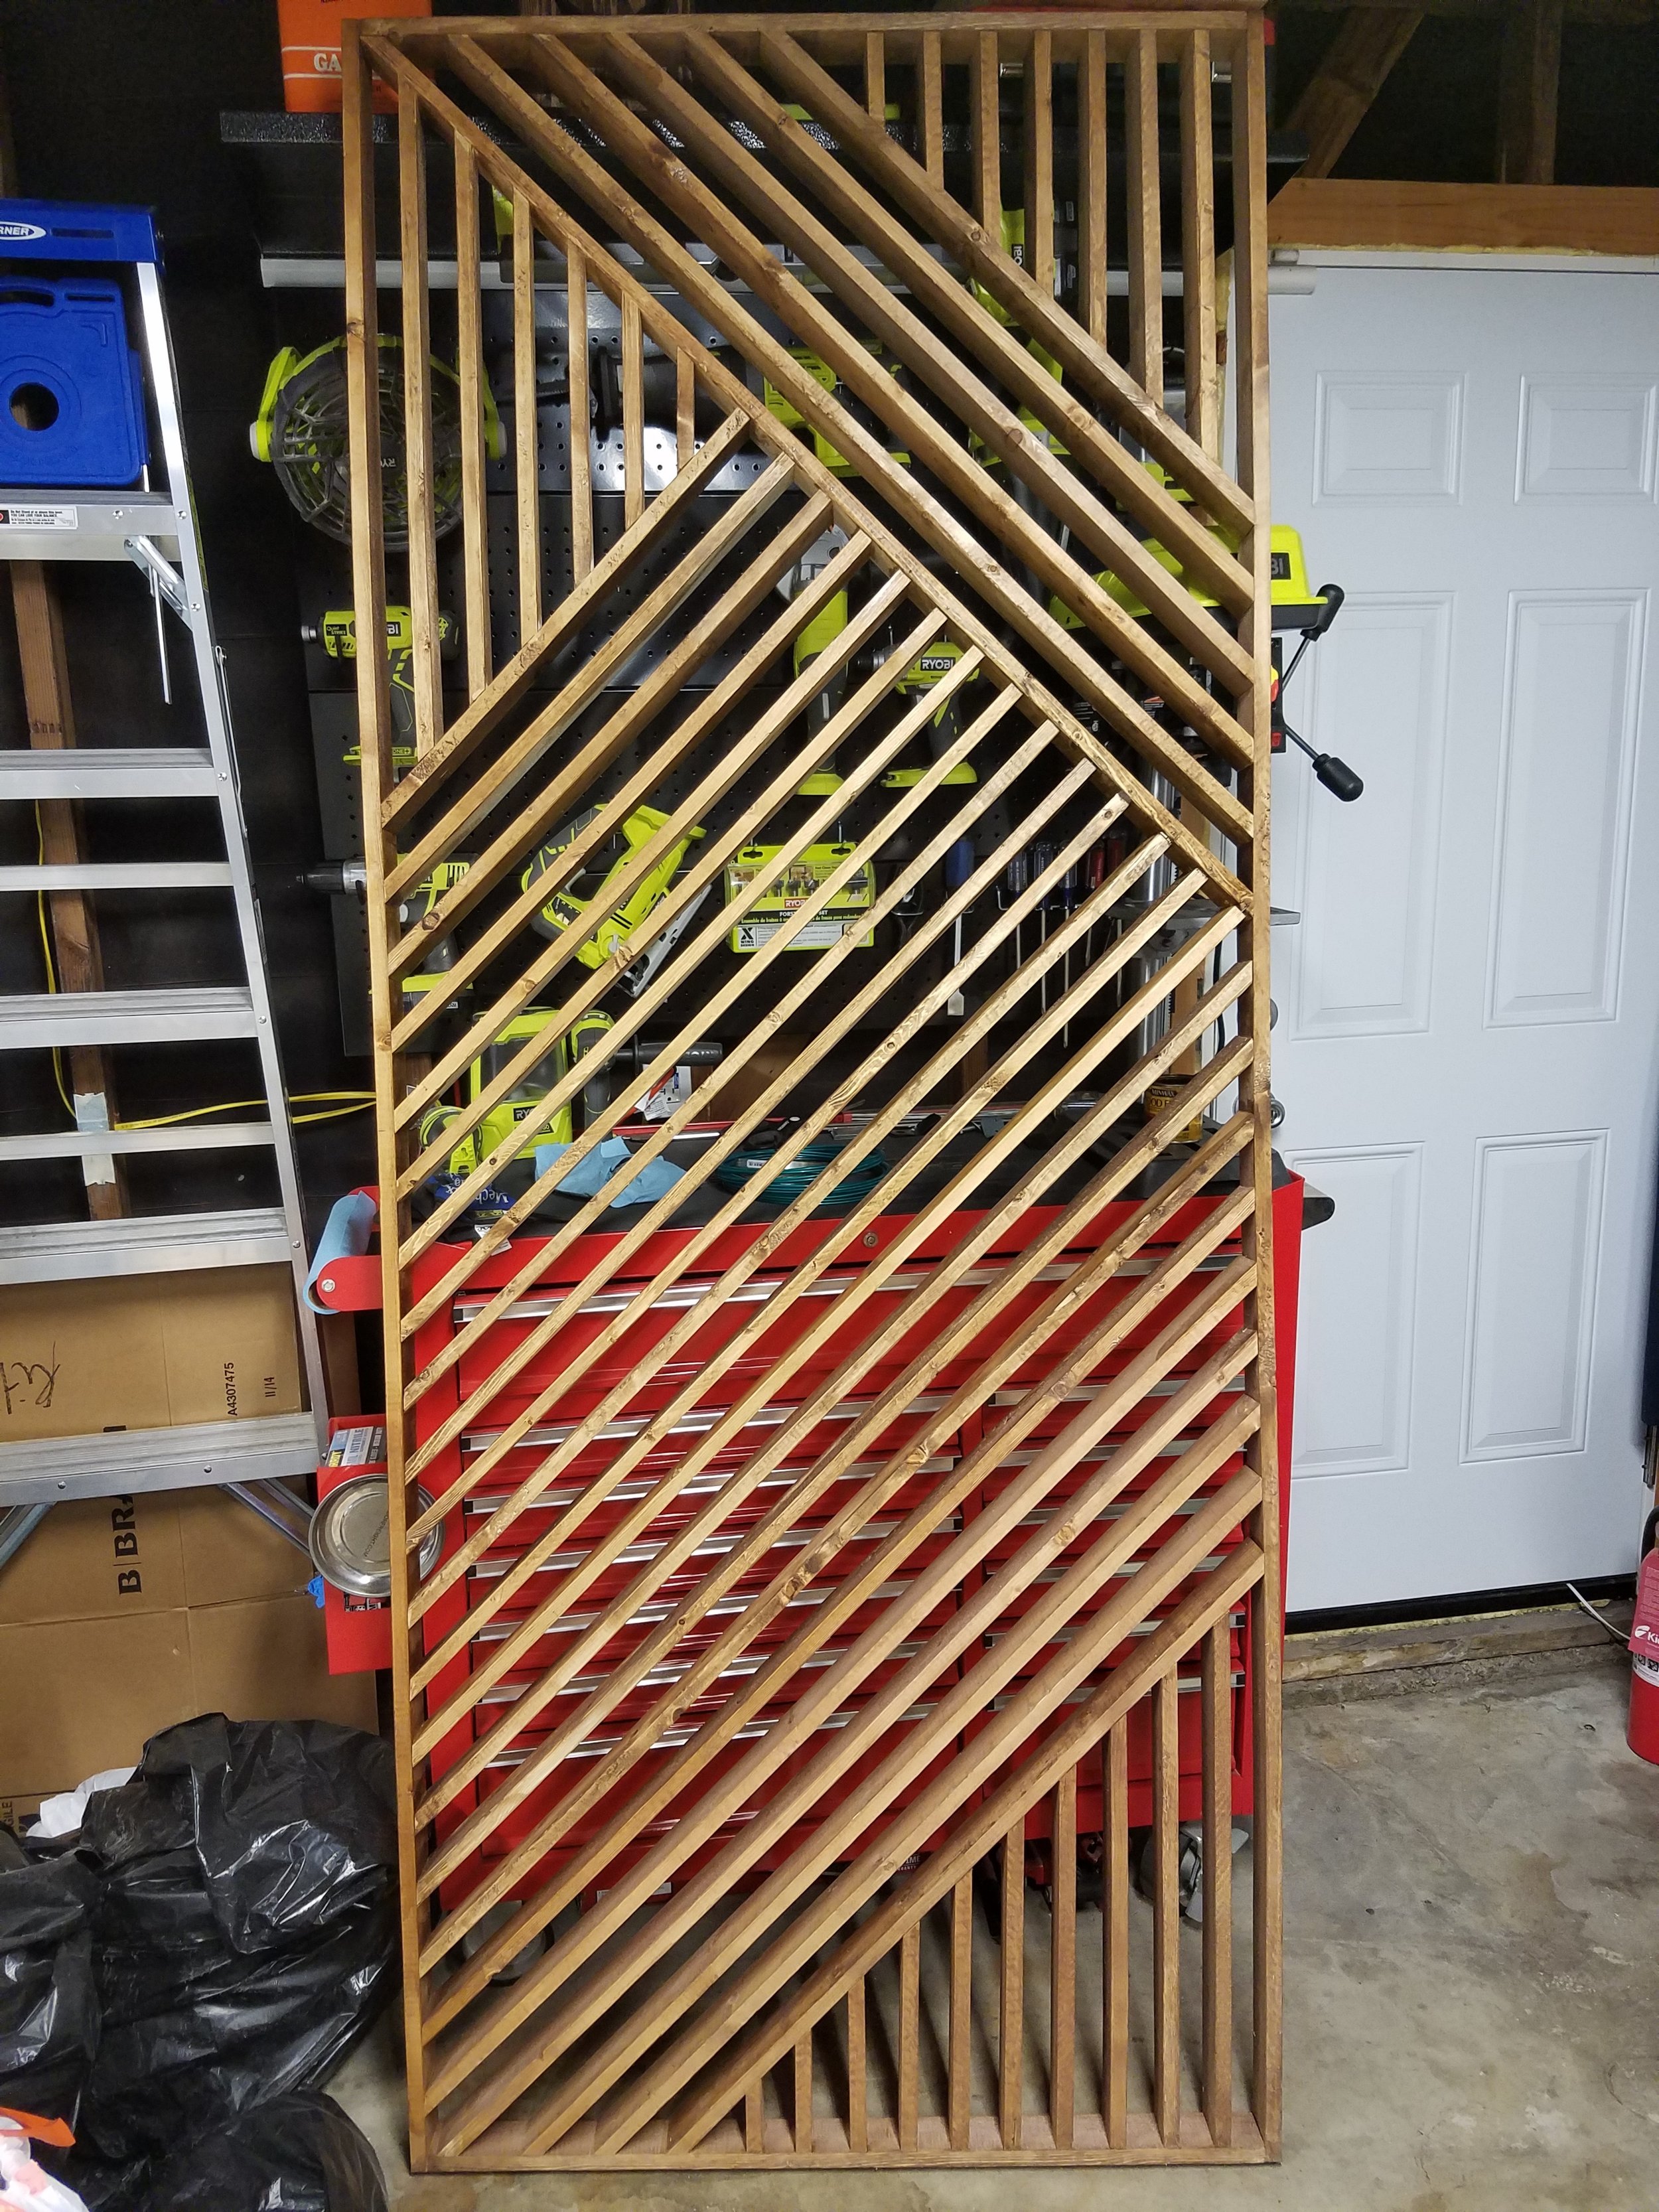
1st panel completed…

On to the 2nd panel. I set it up next to the first panel, to see where the patterns would line up.

Continuing along…

You can see where the pattern lines up and sort of connects and flows.

On to the 3rd panel, again lining it up with the 2nd panel.

For the legs, I used 1”x6” and 2”x6” boards and drilled some holes for bolts to attach to the cross support. I routed a chamfer on the front of the legs to lighten them up a bit (totally optional).

You can see here how I attached the legs with bolts going through the support piece, then the support piece is drilled into the panels from behind.

The support cross piece behind helps keep the panel straight and vertical.
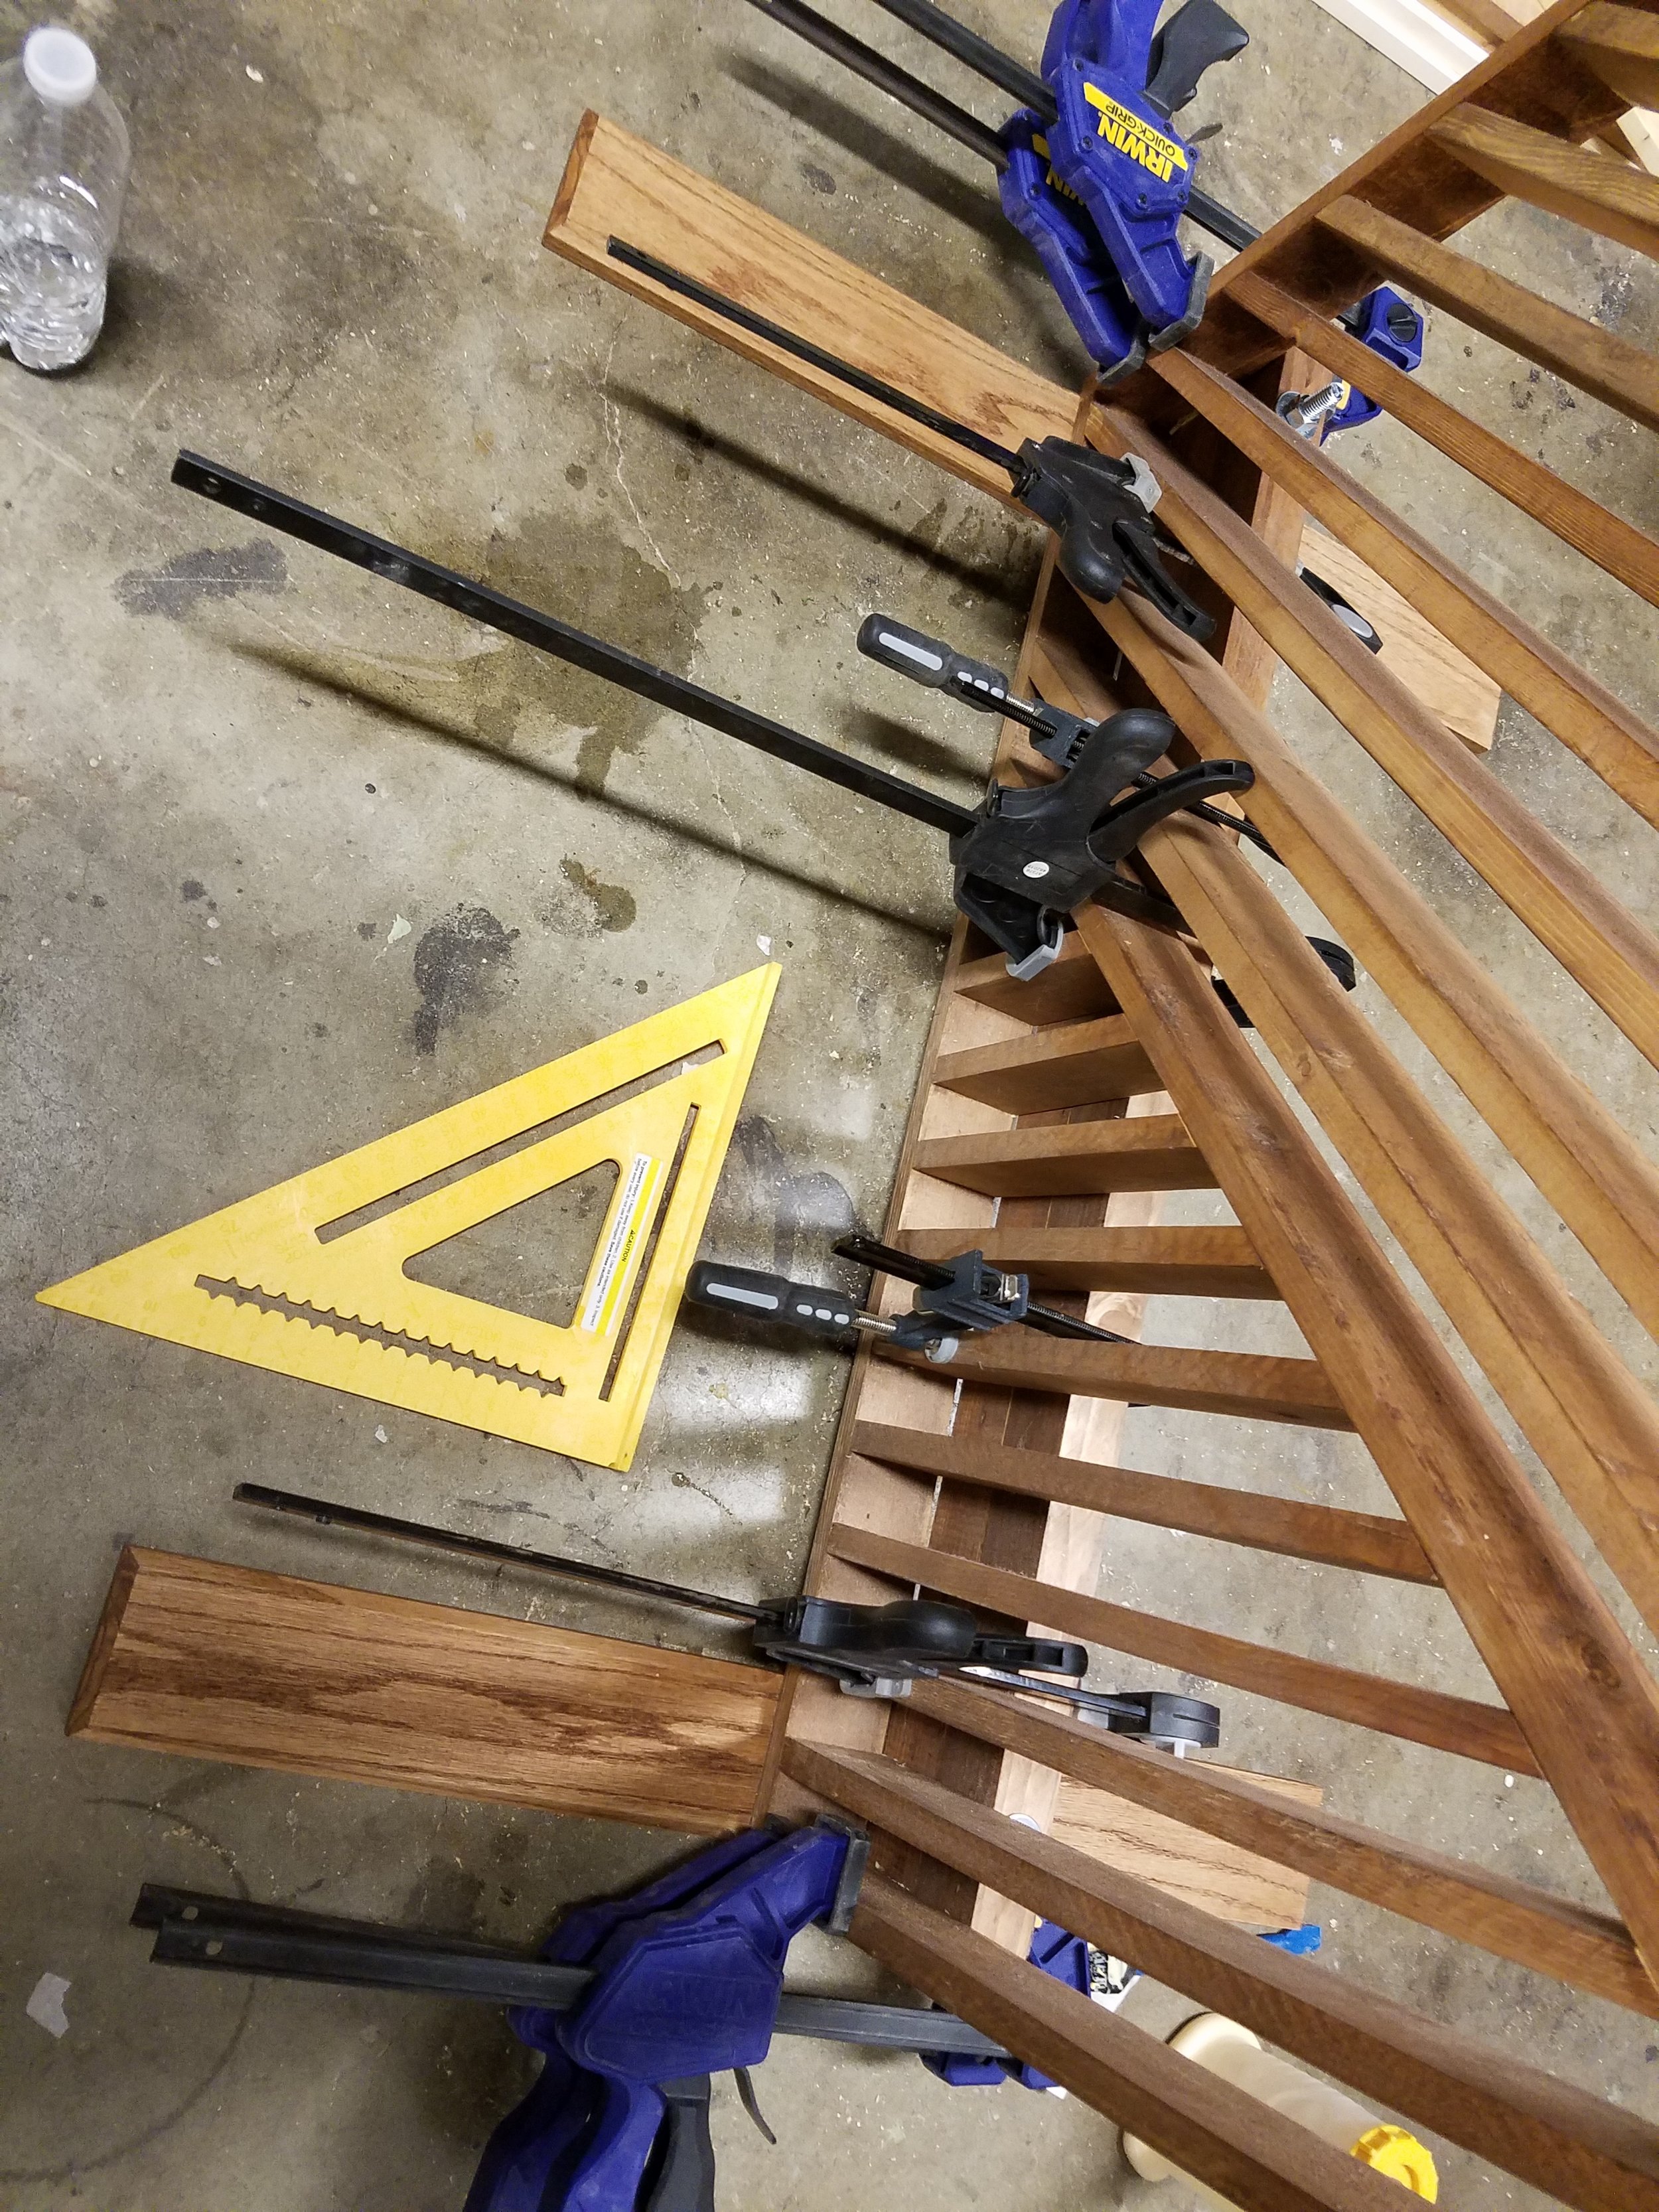
Using clamps and a square, screw the back legs to the bottom portion of the panel.

Make sure the panel stands vertically and level.

Completion of all 3 panels lined up together. I then sprayed on 2 coats of Minwax Polyurethane sealer

The plexigass seating chart was attached by using some fishing line.

A touch of greenery was added with some faux green foliage, and tied with some green wire ties.


